If you are a Sullivan County resident who earns a high school diploma or GED in 2024, you may be eligible to ATTEND SUNY SULLIVAN WITH FREE TUITION AND FEES!

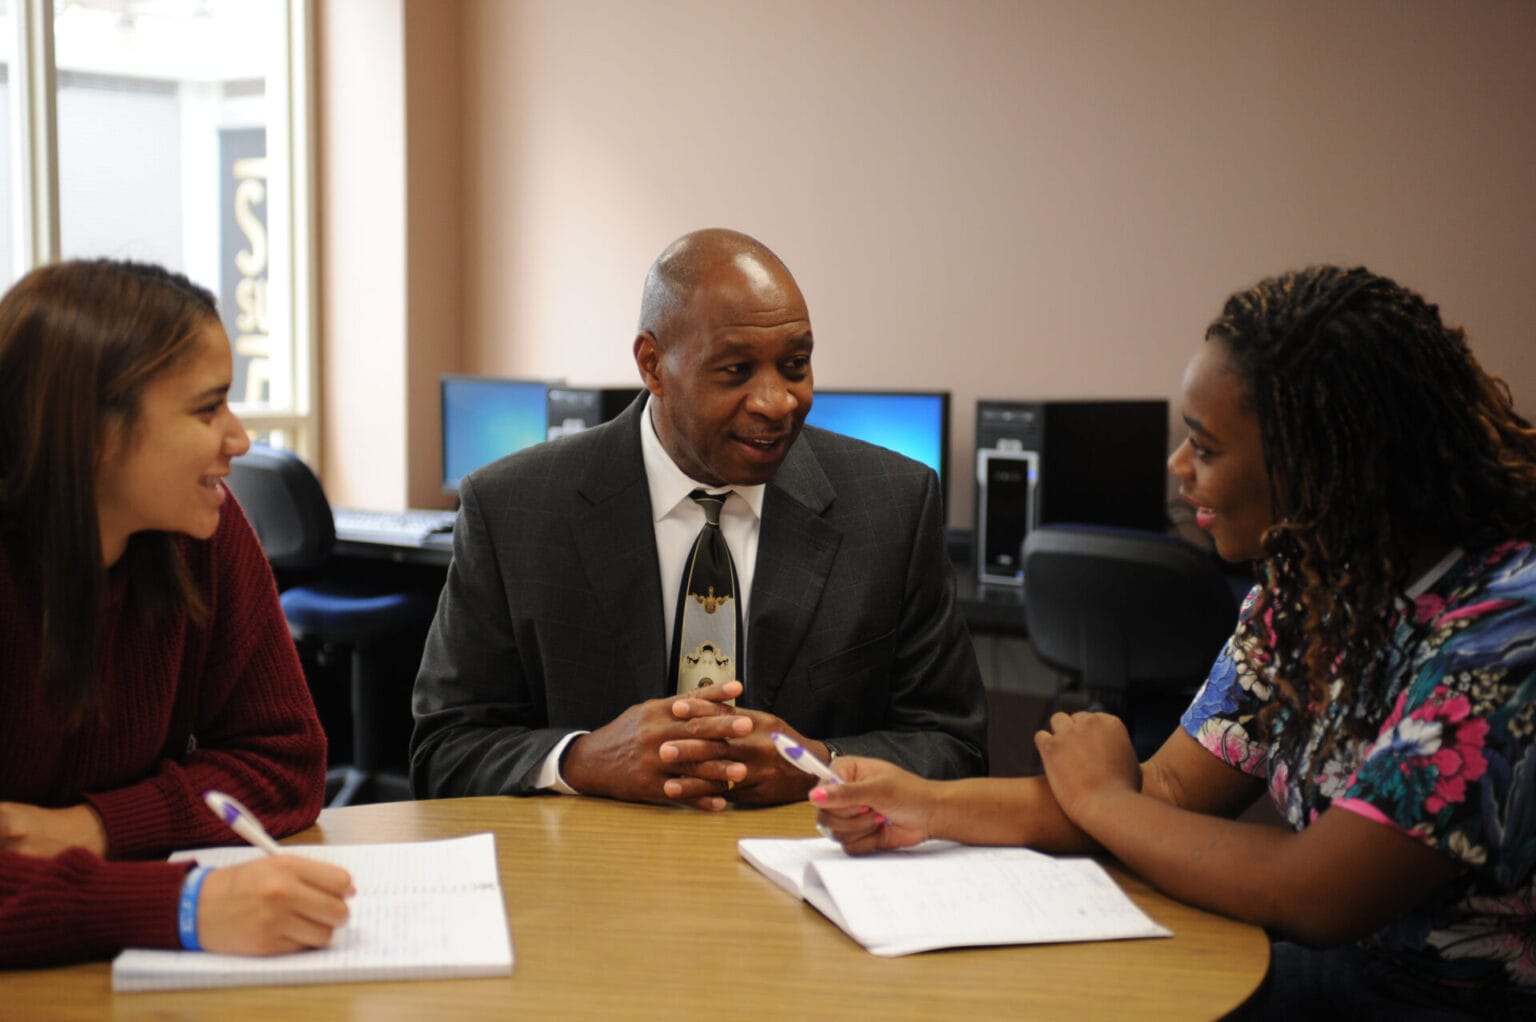
SUNY Appoints New President for SUNY Sullivan
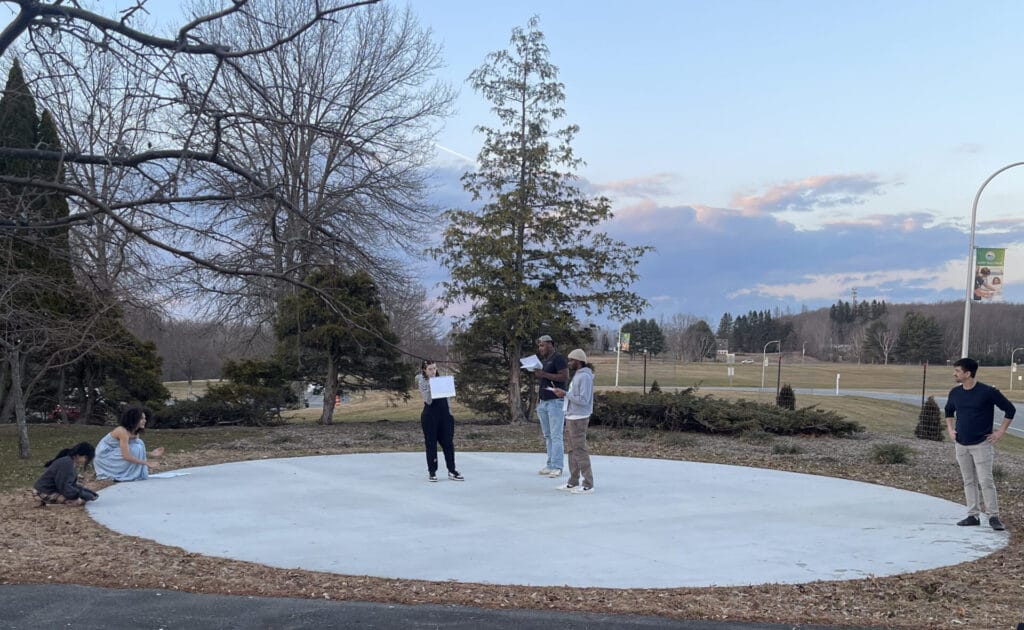
Theater Program Presents Fairview and Fuenteovejuna/The Sheep Well
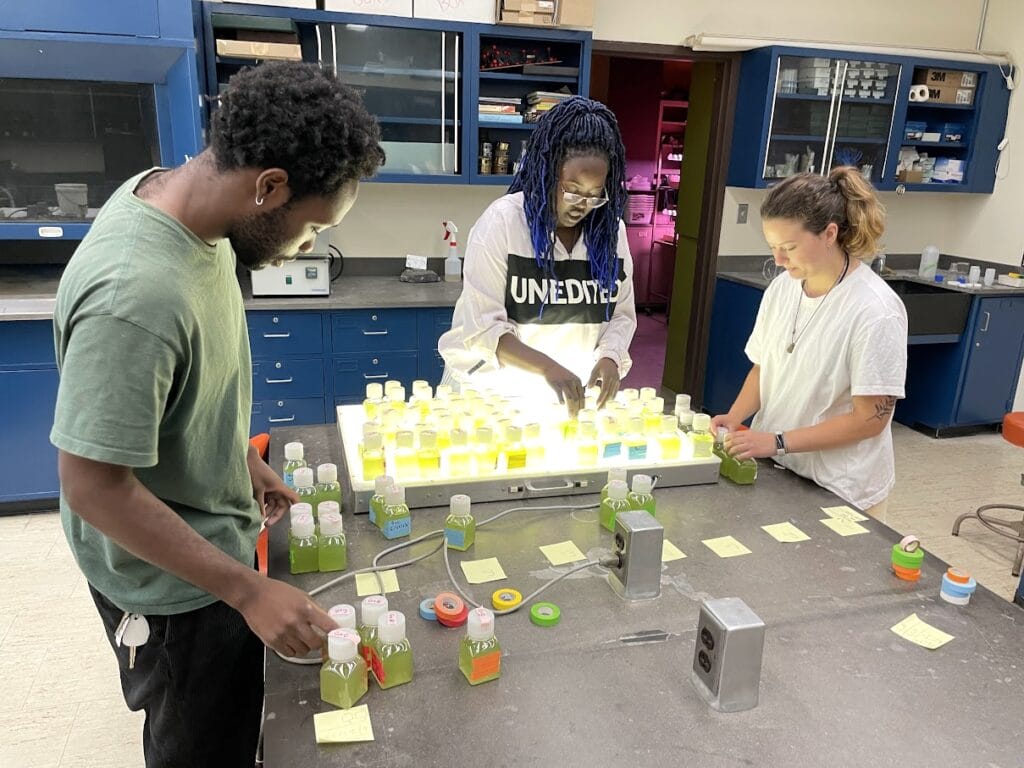
Green Building Technology Student Dominique Etienne Presents Algal Bloom/CyanoHAB research at Biomedical Research Conference in Phoenix
WEEKENDS (8 weeks) Sat. & Sun. (7:00 a.m.-5:30 p.m.) COST: $5,500 Click HERE to register! […]
DAYTIME (3 weeks) Mon.-Thurs. (7 a.m.-5:30 p.m.) COST: $4,125 Click HERE to register! NOTES: Training […]
The SUNY Sullivan Theater Arts program is proud to announce performances for Lope deVega’s “Fuenteovejuna/The […]
The SUNY Sullivan Theater Arts program is proud to announce performances for Jack Sibblies Drury’s […]


A Better Future - Within Reach
0+
Degree programs & certifications<$0
Tuition a year0
Acre campus$0 M+
Financial aid awarded annually0+
Degree programs & certifications<$0
Tuition a year0
Acre campus$0 M+
Financial aid awarded annuallyExperience SUNY Sullivan
SUNY Sullivan is a forward-looking, top-tier community college in New York offering over 40 degree programs, certificates, and micro-credentials for learners at all levels of their educational goals. Our 405-acre campus provides a living sustainability lab with an organic farm, geothermal heating and cooling, solar farm, wind turbine, and apiary. We are committed to environmental and social responsibility that informs our campus operations and curriculum. Whether from an urban environment or local hometown, our students benefit from our mindbody wellness initiatives and excel in championship Division II Athletics programs.


Follow Us
Sign up to receive email updates about SUNY Sullivan.